Drywall is a staple in most modern homes, offering an affordable and easy-to-install solution for interior walls and ceilings. However, with everyday wear and tear, drywall can get damaged over time. From small holes caused by accidental bumps to larger cracks from settling foundations, drywall damage is a common issue for homeowners. Fortunately, fixing drywall is not as difficult as it may seem, especially with the right tools and a good drywall repair kit.
In this step-by-step guide, we’ll show you how to use a drywall repair kit effectively to repair everything from minor dings to larger holes. With a few simple tools and materials, you can restore your walls to their original condition without needing to call in a professional.
What’s Included in a Drywall Repair Kit?
A drywall repair kit typically includes all the essential tools and materials you need to patch up drywall damage. While each kit may vary slightly depending on the brand and the size of the repair, most kits include the following components:
- Pre-mixed joint compound or spackle: This is used to fill holes and smooth over patched areas.
- Patching material: This can be a pre-made patch or a roll of fiberglass mesh or paper tape.
- Putty knife: This tool is used to apply the compound and smooth it over the patched area.
- Sandpaper or sanding block: After the compound dries, sanding helps to smooth out the surface for a clean finish.
- Wall repair primer or paint: Some kits include a small amount of paint or primer to blend the repair with the surrounding wall.
Now that we know what’s inside a drywall repair kit, let’s get started on the repair process.
Step 1: Assess the Damage
Before you dive into the repair, take a moment to assess the damage. Drywall holes or cracks can vary significantly in size, so understanding the extent of the damage will help determine the best approach.
- Small Holes (Dime-sized or smaller): These can typically be repaired with a simple application of spackle or joint compound.
- Medium Holes (Up to 4 inches in diameter): These require a patching material to fill the hole, followed by joint compound.
- Large Holes (Over 4 inches in diameter): For large holes, you may need a drywall patch, joint compound, and additional steps like reinforcing the area with a new piece of drywall.
If you’re dealing with a crack rather than a hole, the repair process will be slightly different, but it’s just as straightforward.
Step 2: Prepare the Area
Before repairing the damage, it’s essential to prepare the area. This ensures the repair material will adhere properly and provides a smoother, cleaner finish.
- Remove any loose debris: Use a utility knife or your putty knife to remove any loose or damaged drywall around the hole or crack. Be gentle and try not to make the hole bigger than it already is.
- Clean the area: Wipe down the damaged area with a damp cloth to remove dust and dirt. This will help the repair materials stick better.
- Mask off the surrounding area: If you’re working near trim, baseboards, or the floor, use painter’s tape and plastic sheeting or drop cloths to protect these surfaces from compound splatters.
Step 3: Apply the Drywall Patch (for Larger Holes)
If you’re dealing with a hole larger than 1 inch in diameter, you’ll need to use a drywall patch to fill the gap. Drywall repair kits typically provide either a pre-formed patch or a fiberglass mesh to cover the hole. Follow these steps to apply the patch:
- Fit the patch: If you’re using a pre-formed patch, simply press it into the hole. For a mesh patch, apply it over the hole, making sure it overlaps the edges of the hole by at least 2 inches.
- Secure the patch: Use a putty knife to press the patch into place, ensuring that it adheres securely to the drywall. For mesh patches, you may want to apply a thin layer of joint compound over the patch to keep it in place.
For larger holes, you may also need to cut a piece of drywall to fit the hole. If you’re comfortable with more advanced repairs, you can use a utility knife to cut a new piece of drywall and screw it into place using drywall screws.
Step 4: Apply Joint Compound
Once the patch is in place, it’s time to cover it with joint compound (also known as drywall mud). This step helps fill in any gaps around the patch and creates a smooth surface for painting later.
- Load the putty knife: Scoop a small amount of joint compound onto your putty knife.
- Spread the compound: Apply the joint compound over the patched area, extending a few inches beyond the edges of the hole. Use the knife to smooth out the compound and ensure it’s evenly applied.
- Feather the edges: To ensure a seamless blend with the surrounding wall, feather the edges of the compound by lightly running the putty knife over the outer edges, gradually thinning the compound as you move away from the patch.
Allow the joint compound to dry completely. Drying times can vary depending on the thickness of the compound and the humidity in your home, but it typically takes about 24 hours.
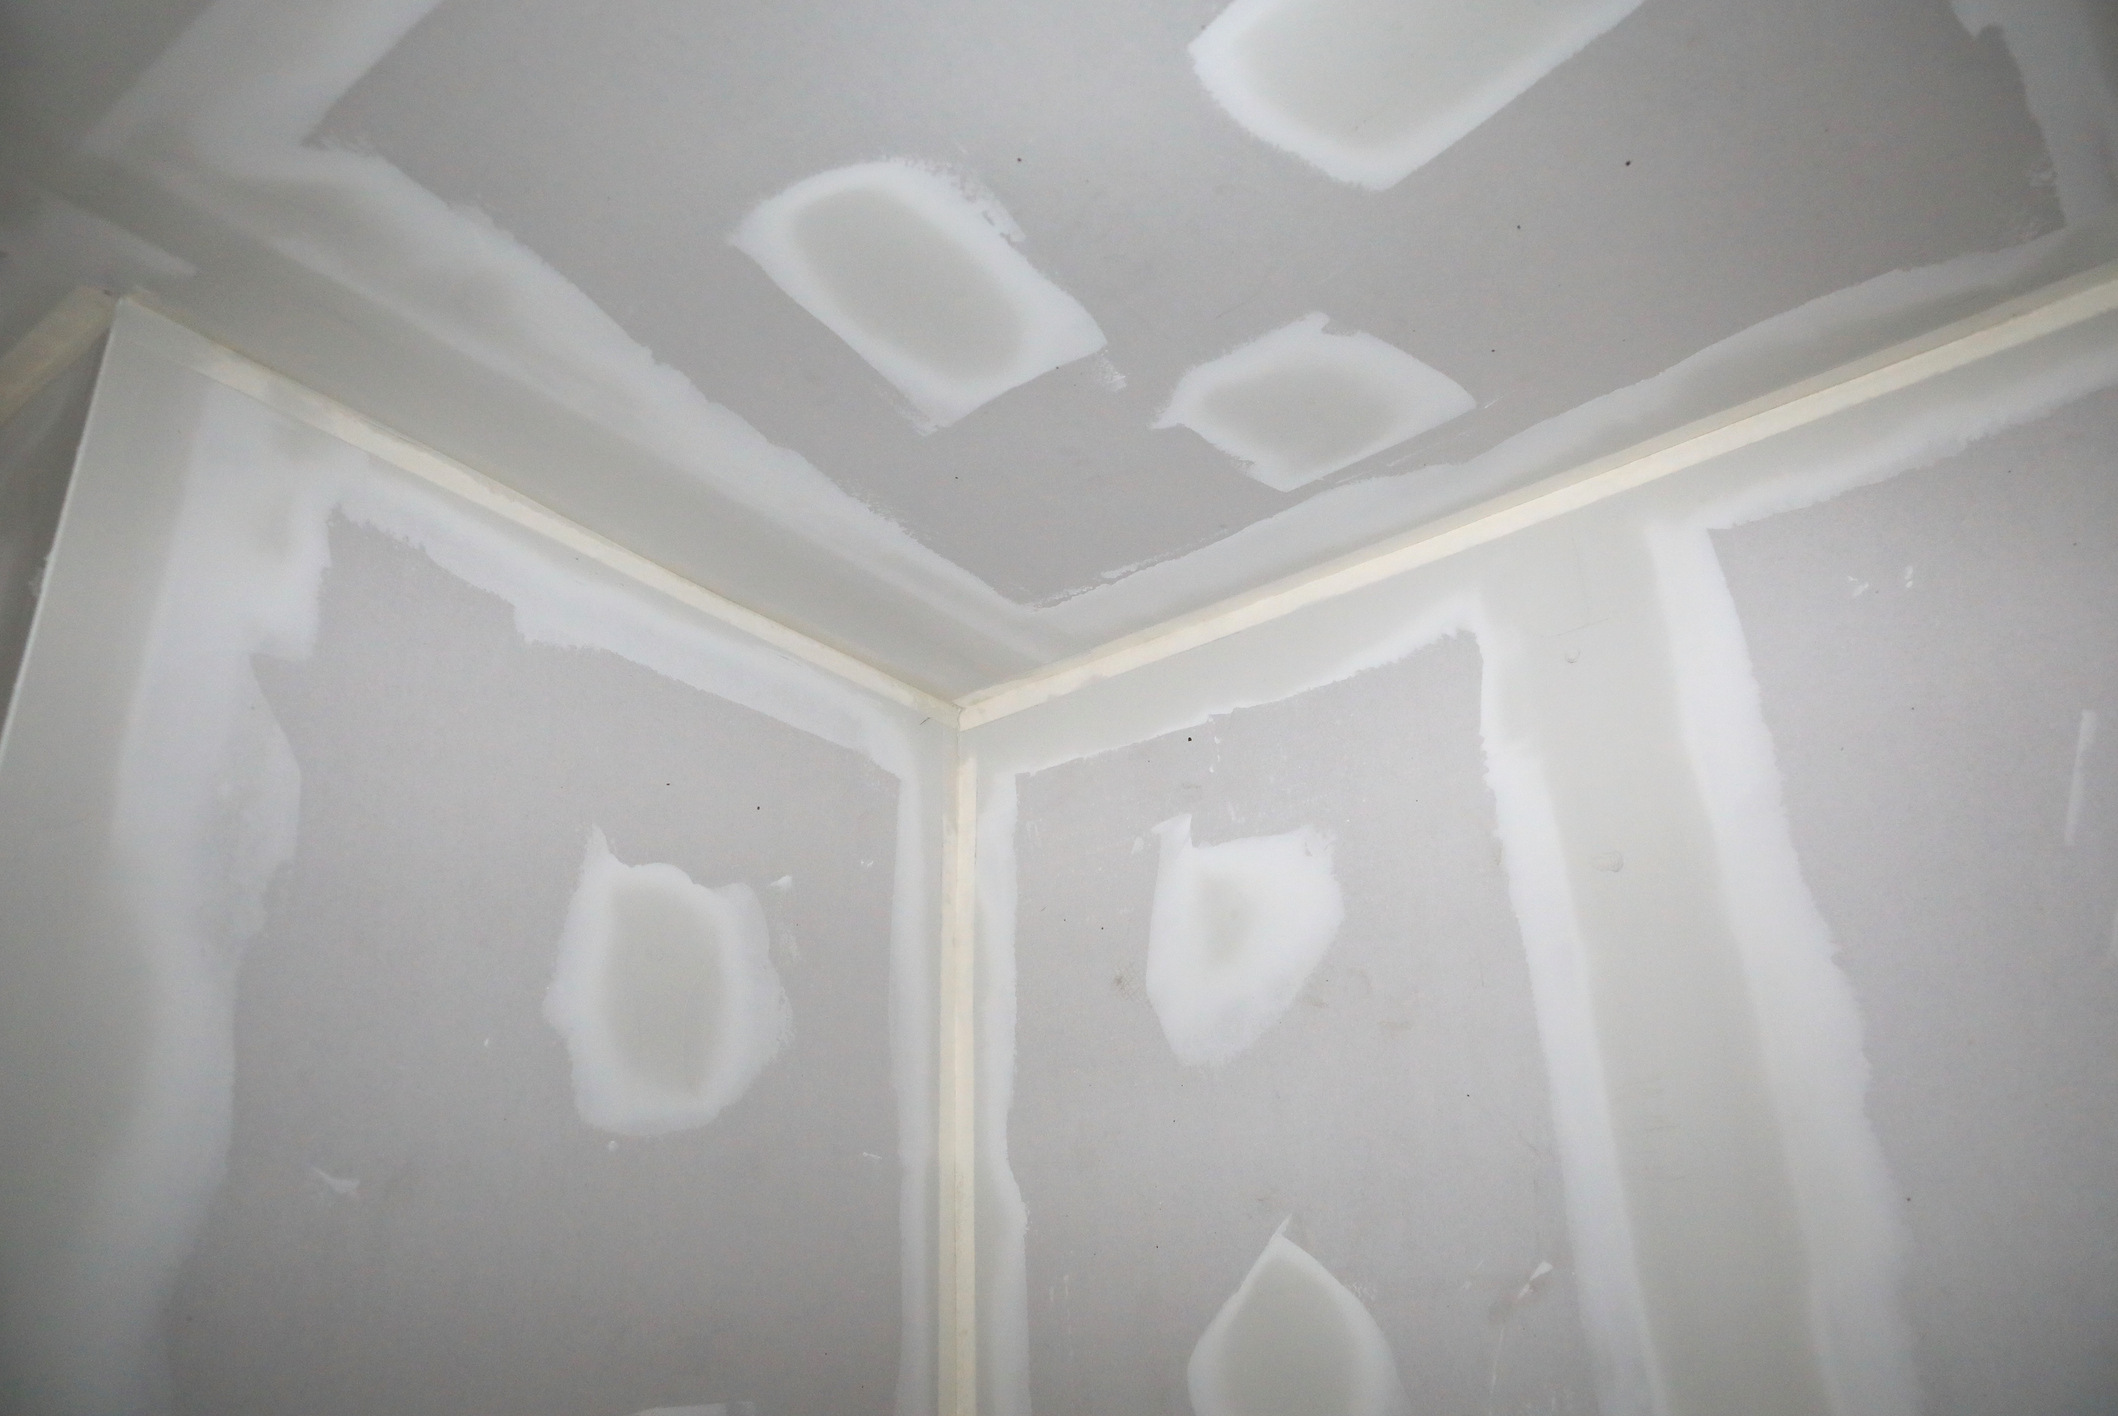
Step 5: Sand the Surface
Once the joint compound is fully dry, it’s time to sand the patched area. Sanding helps smooth out the surface and makes it easier to paint over the repair.
- Choose the right sandpaper: Use medium-grit sandpaper (around 120-grit) for the first round of sanding, followed by fine-grit (around 220-grit) to smooth the surface.
- Sand gently: Lightly sand the patched area in a circular motion. Be sure to avoid pressing too hard, as this can cause you to remove too much compound or damage the surrounding drywall.
- Clean the surface: After sanding, wipe down the area with a damp cloth to remove any dust from the sanding process.
Step 6: Apply a Second Coat of Joint Compound (if Needed)
If you notice any imperfections, such as low spots or uneven edges after sanding, apply a second coat of joint compound and repeat the sanding process. In most cases, one or two coats of joint compound should be sufficient for a smooth, level surface.
Step 7: Prime and Paint
Once the patched area is smooth and clean, it’s time to prime and paint the surface.
- Prime the patch: Use a primer designed for drywall to seal the joint compound. This helps the paint adhere better and ensures a uniform finish. Apply a thin layer of primer and allow it to dry completely.
- Paint the wall: Once the primer is dry, apply your chosen wall paint over the patched area. You may need to apply multiple coats of paint to achieve a consistent color match with the surrounding wall.
Step 8: Clean Up
After the paint has dried, clean up your workspace. Remove any painter’s tape, dispose of used materials, and wash your tools. If your drywall repair kit came with any leftover compound or patching material, store it in a cool, dry place for future use.
Final Thoughts: Repairing Drywall Made Easy
Using a drywall repair kit is an effective and cost-efficient way to fix common drywall damage around the house. Whether you’re patching small holes from nails or repairing larger cracks, the process is simple, and with the right materials, you can achieve professional-quality results.
However, if you find yourself overwhelmed by the repair process or simply don’t have the time to tackle it, don’t worry. You can always contact Cary NC Handyman for professional help. Our team of experienced handymen specializes in drywall repairs, ensuring your walls look as good as new without the hassle. From minor fixes to extensive repairs, we’re here to help you maintain your home’s integrity and beauty.
Contact Cary NC Handyman today to schedule your drywall repair service and let us handle the heavy lifting for you!
Leave a Reply